
- Best Polygel Nail Kits And Application Guide - June 12, 2022
- 18 Purple Nails Inspiration and Ideas - April 16, 2022
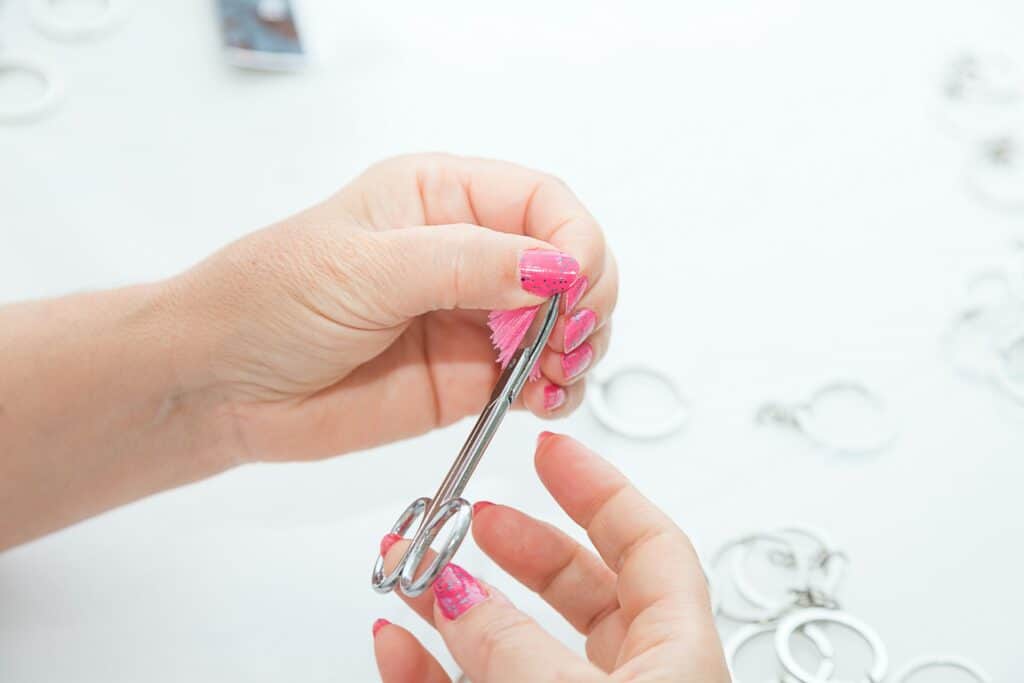
It feels so nice to have a fresh manicure; you feel like you can take on the world. I know that I feel more confident when my nails have a fun pop of color on them, and my hands feel nice and soft.
I used to get my nails done every two weeks at a salon, and when the pandemic hit and nail salons closed, I let my nails grow out and decided to learn the craft myself. I’m a makeup artist with a steady hand, so I thought I could probably do a pretty good job with some practice.
In this article, I want to provide you with the best nail accessories to have in your nail kit to get the most out of your manicure. Don’t feel like you have to run out and buy everything, but you’ll get salon results every time if you can eventually fill your kit with these.
Bottomline Up Front
There are a lot of different possible accessories that you could add to your nail care kit. I know it can be hard to determine which products to pick up first or which ones are really the most essential. Here are my top three must-haves for your kit at a glance:
- Sally Hansen Cuticle Remover– this is such a handy product to get rid of your cuticles. If you aren’t going to pick up a cuticle pusher, this product can be used by itself to help sweep away those pesky cuticles. I swear by this product!
- O.P.I. Top Coat– this is a nail kit must-have, trust me. I’ve tried so many topcoats, and none compare to this one. It makes your manicure last past a few days, which I find happens when you use a cheaper top coat.
- O.P.I. Nail Polish Clean-Up Pen– if you’re like me, it’s pretty easy to make mistakes when using nail polish, especially on your non-dominant hand. If you paint outside of your nail bed, just grab this pen and use the brush to wipe away excess product. It’ll change the nail game for you!
What Everyone Needs In Their Kit
Building a nail kit is paramount to achieving great at-home manicures every time. You might need to spend a little more than getting a salon manicure upfront, but you’ll end up saving more money in the long run. Here’s a list of the items that you’ll need:
- Nail Files
- Cuticle Pusher
- Cuticle Nipper
- Cuticle Remover
- Base Coat
- Top Coat
- Nail Strengthener
- Nail Polish Remover
- LED Light (For Gel Manicures)
- Nail Art Stickers
- Nail Clean-Up Pen
- Hand Cream
- Nail Brushes (for designs)
- Nail Buffers
Why Are Nail Accessories So Important?
Taking care of your nails is paramount to achieving a great manicure; if you simply slap on some fresh nail polish to unkempt nails, you’ll be disappointed with the outcome. Nail care doesn’t just comprise of some occasional maintenance before a manicure; you have to regularly keep them tidy and repeat the same steps each time you put on a fresh set of polish.
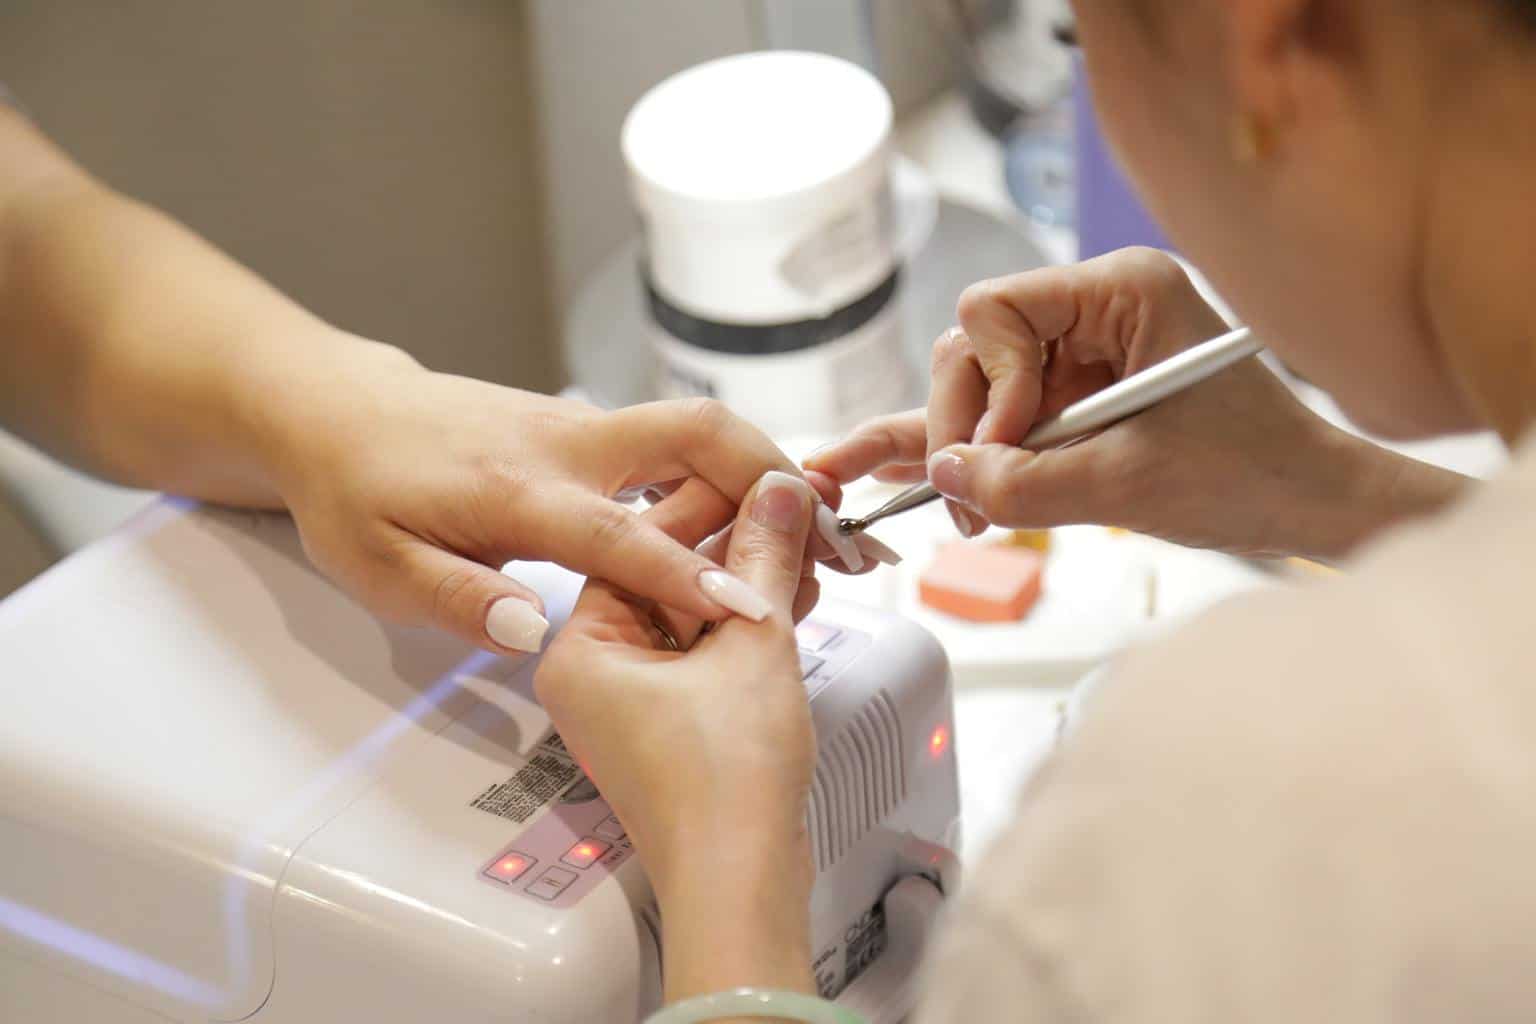
When it comes to maintenance, nail accessories are your best friend; they are what help keep your nail beds clean and tidy and can even help strengthen your nails over time. Not to mention, nail accessories also help you achieve a clean-looking manicure as well. There are tools that help clean up the polish and create a long-wearing shine. When you go to a nail salon, you’ve probably noticed that they use many different tools and products before ever applying your chosen nail polish.
My Top Nail Care Tips
- Always keep your hands moisturized, especially in the winter months. Your hands are exposed to many chemicals each day that can create cracks and peeling skin. By keeping up with a regular moisture routine, you’ll always have soft skin, which will help keep them looking great year-round.
- Always keep up with cuticle care. When you use nail polish often, having dry or hard cuticles will make the nail polish look uneven and can even lead to early chipping or peeling. You’re more likely to get hangnails if you don’t take care of your cuticles, and trust me, those can be painful.
- Regularly file your nails to help keep their shape and prevent tearing or ripping. While you can cut your nails, I find keeping up with filing on a regular basis to be a better way to prevent nail damage in the long run.
- When you don’t have a fresh manicure on, I recommend applying a nail strengthening solution to help harden and increase the integrity of the nail bed. Over time, nails can become brittle and sometimes nails can break off completely, especially if they’re long. Regularly applying strengtheners can help aid these issues.
- Every so often, I recommend taking a week break or two from any nail products so that your nails can naturally repair themselves. This is especially important if you use artificial nails and nail glue which can create grooves or ridges in the nails. Even though they may not look as pretty, the nail beds need a break every so often.
Buying Tips
It can be hard to figure out where to buy all of these products, never mind knowing which ones you should splurge on and which you can buy cheaply.
I’ve tried out each of the recommended kit products at many different price ranges, so I can help you make the best choices.
In terms of where to buy these products, I’d recommend checking out your local drugstore first. Many drugstores have both higher-end and affordable options.
If you’re not able to find good-quality items at your drugstore, I’d recommend going to your local Sephora, as they have some great nail accessories. If you’re in the U.S., Ulta has some great options as well.
What To Splurge On
You will use all of these items in your kit again and again over the years, so it’s best to buy great quality items. I’ve personally nought cheap cuticle tools, and they’ve ended up ruining my nails and rusting after a few weeks. While nail files may seem like an item to cheap out on, it’s best to find a reusable and disinfectable one so that you don’t have to keep tossing and rebuying them.
As for base coats and top coats, I’ve found that the cheaper versions only end up creating peeling or chipping, and splurging on a more expensive bottle will keep your manicure on for a week or more. If you’re going to be using gel polish, picking up a good quality LED lamp will help set the polish better and make it resistant to peeling in the first few days. Lastly, buying good-quality nail brushes means you won’t get any fraying or shedding over time, which can make it difficult to create intricate nail art.
- Nail File
- Cuticle Pusher
- Cuticle Nipper
- Base Coat
- Top Coat
- LED Light
- Nail Brushes
What You Can Buy Cheaply
All of these items are somewhat more disposable and will have to be re-bought regardless of whether they’re good quality or not. I’ve bought some expensive hand creams and nail polish removers, only to find that they don’t really improve my manicure more than cheaper products do. I would recommend picking up all of these items at your local drugstore, as they are sure to have some great options to choose from. I like to see products in store before I buy them; if you can’t find them there, your local Walmart is sure to have them too!
- Hand Cream
- Nail Art Stickers
- Nail Polish Remover
- Nail Strengthener
- Nail Clean-Up Pen
- Cuticle Remover
- Nail Buffers
Selection Criteria For My Top Recommended Products
All of these products I’ve personally tried out and have in my kit for every time I do a manicure. I’ve tested and trialled many versions of these products and found nothing that compares to them.
These products also have really great customer reviews, so the consensus is that these are some of the best for your kit.
The 10 Must-Have Products For Your Kit
1. Tweezerman Cuticle Pusher
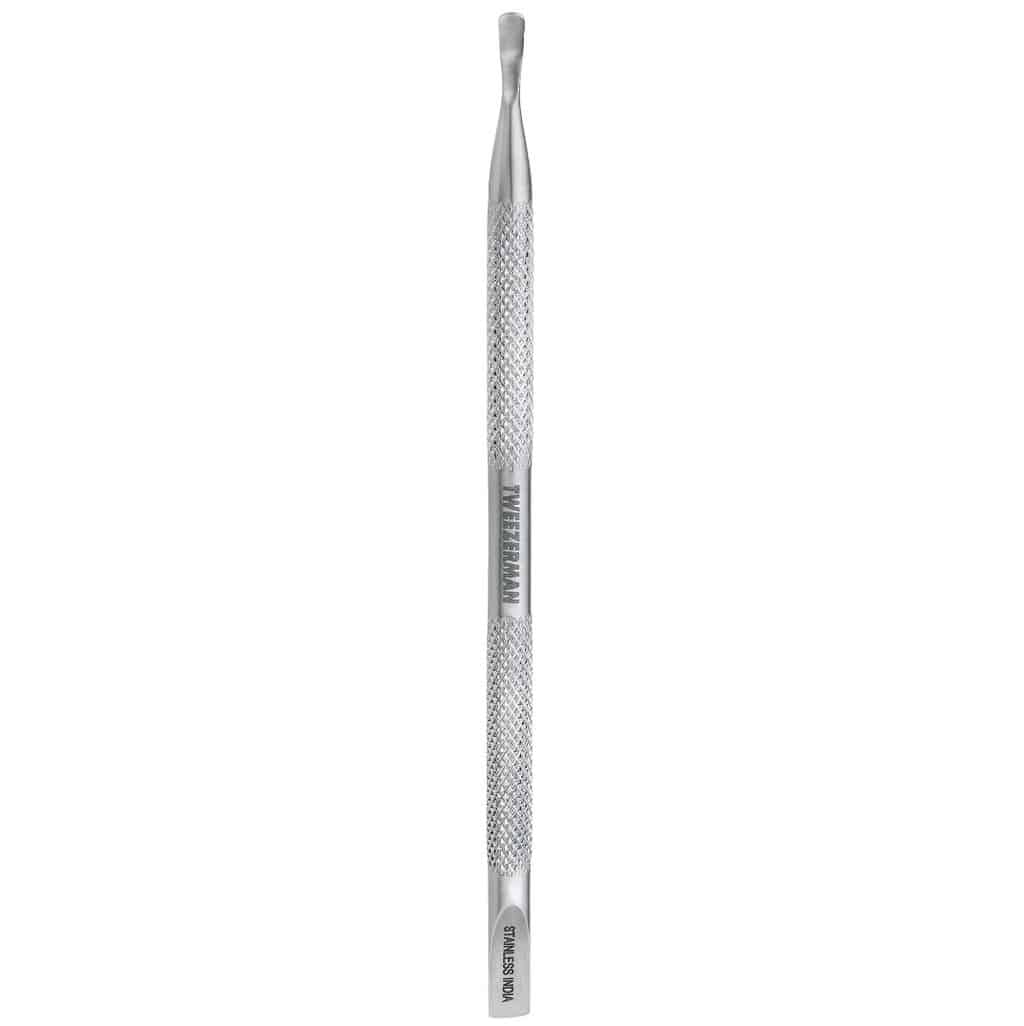
A cuticle pusher is a must-have for your kit. Pushing back your cuticles ensures that you have optimal space for your nail polish and that it won’t chip or look wonky. I’ve used many cuticle pushers in the past, most were cheap, and the one thing I found was that they rusted a lot, and the metal was jagged and hurt my cuticles.
Well, with this cuticle pusher, you won’t have any of those issues. It’s made from durable metal that won’t cause scratches or damage to your nail beds. It also has a handy stainless steel grip so you can hold it comfortably from any angle.
Pros
- Durable metal means it will last a long time in your kit.
- It has a fine end for easy cleaning under the nail bed.
- It has a stainless steel grip for easy usage.
Cons
- It’s a little more expensive than most cuticle pushers.
- It can be hard to track down in your local pharmacy.
2. Sally Hansen Cuticle Remover

This is another helpful cuticle product that you can use together with your cuticle pusher to create a clean nail bed. The great thing about this product is that it will help soften the cuticle so that when you push it back, it comes away easily without pain. Sometimes when my cuticles are a little tougher, this product really does the trick!
What you’ll do is apply the liquid to your nail bed and wait around 15-20 seconds. Then using your cuticle pusher, gently push back and then wipe away the cuticle tissue.
If you have stubborn calluses or hangnails, this product will also melt them away too. If you have sensitive skin, the formula contains Aloe and Chamomile to soothe the skin.
Pros
- Removes really stubborn calluses and cuticles that would otherwise be hard to get rid of with just a pusher.
- It is formulated with calming ingredients that won’t irritate your sensitive skin.
- It is really affordable.
Cons
- It can be quite hard to find the product in-store because it’s so popular!
- You have to be very quick to run and wash the product off so that it doesn’t melt away too much of the cuticle bed.
3. O.P.I. Crystal Nail File
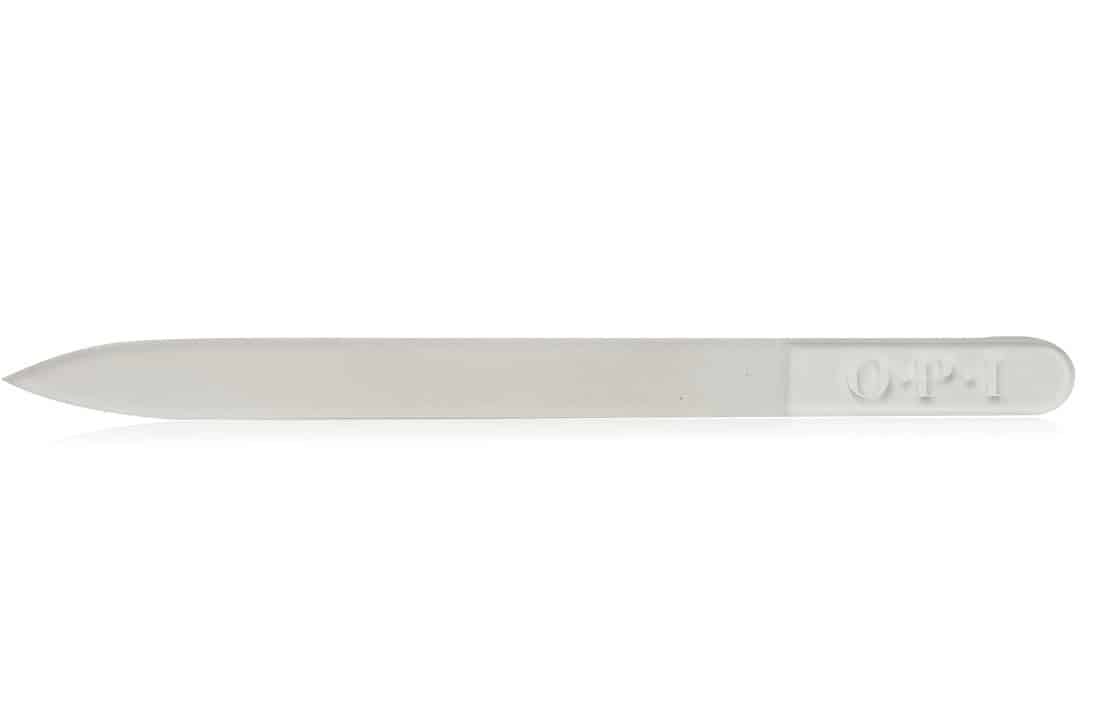
This nail file might look a little different than the traditional files you’ve probably seen, but it’s fantastic! The most awesome thing about it is that it’s reusable, and you can wash it if it gets dirty. If you want to do a manicure on your friend, it’s easy to sanitize with alcohol.
I’ve often found that cheap traditional nail files often break or fray my nails, leading to breakage down the line. What’s fantastic about this file is that you can buff and file without worrying about excessive nail damage. It works to seal the nail in after you file so you can get onto your manicure without worrying about breakage.
Pros
- Reusable and disinfectable.
- It lasts a lot longer than traditional nail files.
- Won’t break or fray the nails.
Cons
- For a nail file, it’s a little costly.
- The case that it comes in can crack because the plastic is a little soft.
4. Essie Basecoat
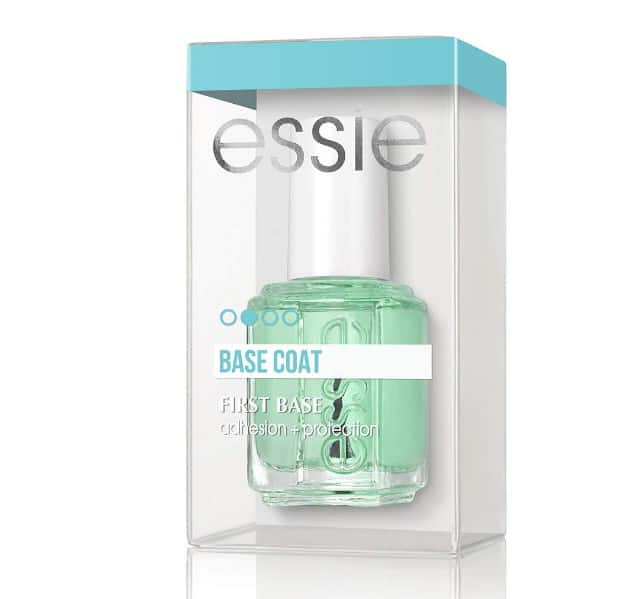
The Essie base coat is the best base coat that I’ve found, and trust me, I’ve tried many over the years! A base coat helps create an optimal nail bed for the application of any nail colour. It helps keep the polish on longer and prevents any staining in the long run.
The Essie Base Coat is specifically fortified with ingredients that promote nail polish adhesion and nail bed protection.
Pros
- Nail adhesion ingredients really help with chipping resistance.
- It prevents nail staining over time.
- It dries fast, so you can continue with your manicure.
Cons
- It doesn’t strengthen as well as a stand-alone nail strengthener would.
- The brush sometimes loses its hairs that get stuck onto the nail.
5. O.P.I. Topcoat
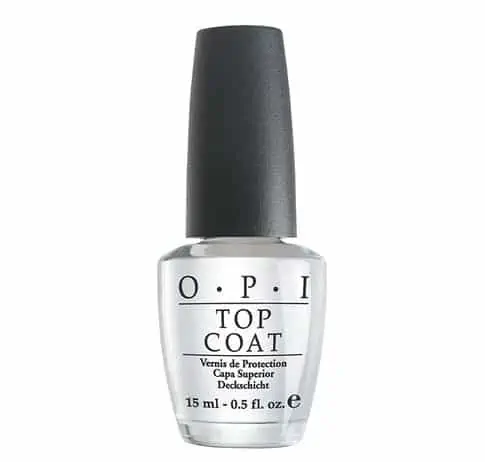
This is the best topcoat I’ve ever tried! Trust me; you need to grab this product wherever you can to get the most stunning manicure. If you’re questioning whether you really need a topcoat in general, I would definitely say it’s one of the most important steps. It helps lock in your polish from chipping and creates a beautiful lasting shine!
The O.P.I. Topcoat specifically is formulated to prevent smudging and is anti-yellow resistant, which can sometimes happen to cheaper topcoats.
Pros
- It provides a really high-shine finish.
- Its formula is anti-yellow resistant.
- It dries down quite quickly, so you don’t have to wait around as long as other topcoats.
Cons
- It is more expensive than traditional topcoats.
- O.P.I. is a more difficult brand to find in stores; you’ll probably have to order it online.
6. Nail Art Stickers

These nail stickers are my favourite and have rave reviews from many Amazon customers! You get an amazing amount of stickers for the price, so your options are virtually endless. You also get a pair of tweezers with this pack for easy application.
These stickers themselves aren’t traditional in that they’re water-activated. What you’ll do is cut out the design that you want from the sheet and peel off the protective film. Then place the sticker with the paper into a small bowl of water and wait for around 30 seconds. The sticker will peel off of the paper, and you can then grab it with tweezers and place it on the nail. To seal in the sticker, apply your topcoat, and you’re good to go!
Pros
- There are so many design options to choose from. You’ll get at least 25-50 manicures out of them, depending on how many you use each time.
- They have a wide variety of selections, so you won’t have to repeat the same types of designs repeatedly.
- The price is super affordable for what you get.
Cons
- The stickers can sometimes fold in on themselves in the water, so you have to be quite patient when applying them.
- Some parts of the sticker can chip off if they’re not fully sealed.
7. La Roche Posay Hand Cream
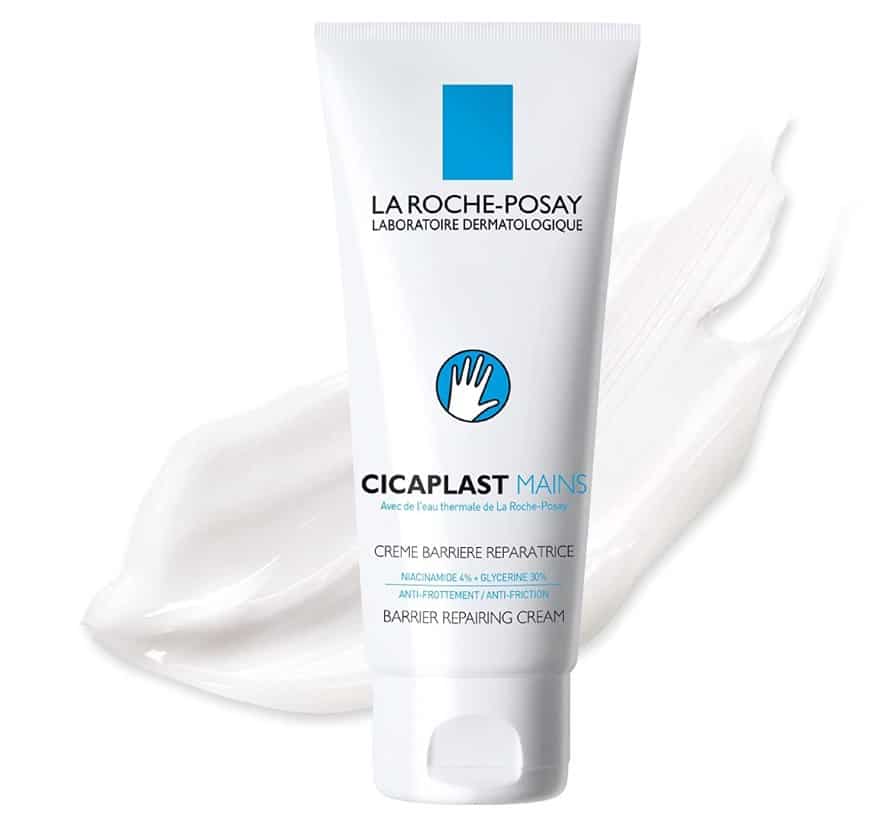
Having a good hand cream in your nail kit will do wonders for your hands, especially in the cold and drier months. You might not think it’s necessary, but if you often use nail products, they do contain chemicals that can dry out your skin.
La Roche Posay’s Cicaplast Hand Cream provides 48-hour moisture and will stand up to lots of handwashing, which is excellent for those who are out and about often. It’s formulated with Glycerin and Shea Butter for ultimate moisture and is perfect for use on even the most sensitive skin.
Pros
- It provides moisture for up to 48 hours.
- Dermatologically tested for safe use on even the most sensitive skin.
- It can be used on arms and legs as well; it’s a great multi-use product!
Cons
- It’s a little bit more expensive than generic hand creams.
- Harder to find in basic stores.
8. O.P.I. Nail Polish Clean-p Pen
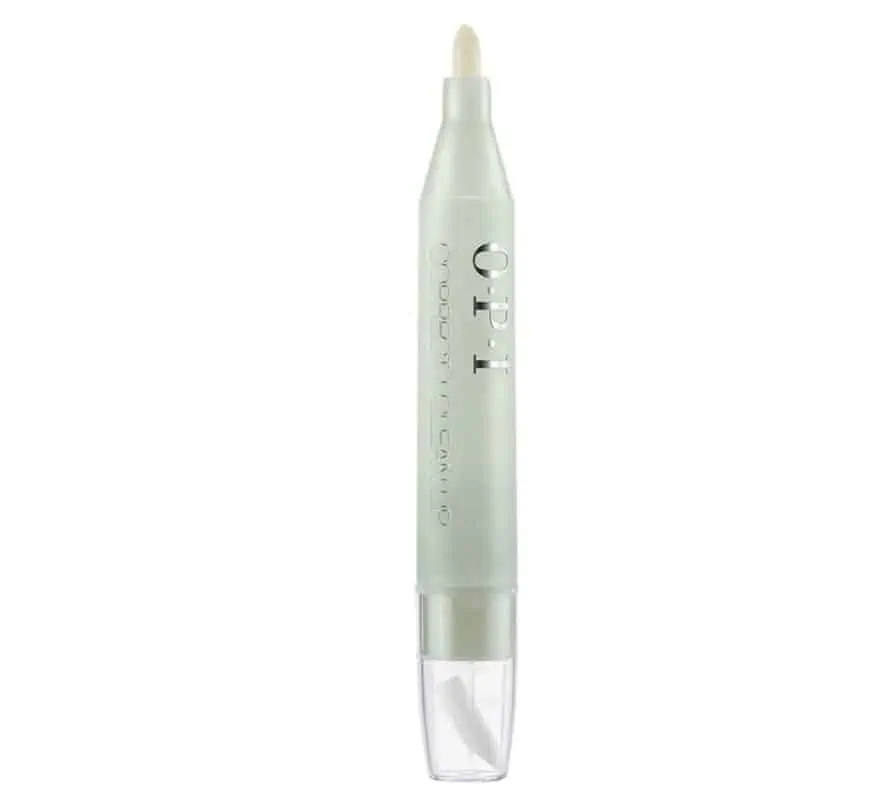
If you’re new to doing at-home manicures or are a bit clumsy like me, then this pen will be a lifesaver! Basically, this pen contains acetone and a handy fine tip brush that you can use around the cuticles to clean up any mistakes. This product’s great because it comes with an extra tip for when the current one gets frayed and is no longer usable.
When the pen runs out, don’t throw it away! You can refill it with any acetone that you have lying around. I would recommend using a good quality remover, though, so you can get the most out of the pen.
Pros
- Easy clean-up of any nail polish mistakes.
- The pen comes with an extra tip.
- You can refill the one when the given acetone runs out.
Cons
- Once you use both tips, it can be hard to find additional replacements.
- The pen is sometimes out of stock on Amazon.
9. Mini On The Go L.E.D. Lamp
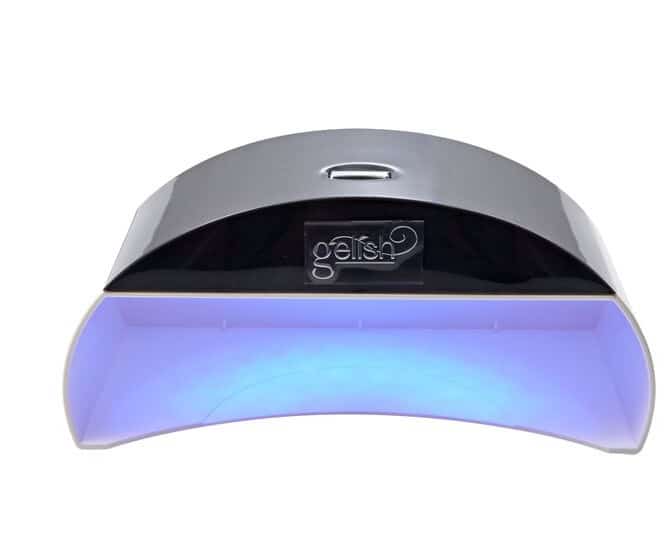
If you start using gel nail polish, which I highly recommend, then this handy L.E.D. lamp will be essential to setting the gel coats. Using gel polish can make your manicure last longer, but you need to purchase unique gel nail polish, which would mostly be found online.
This particular machine is pretty awesome because you can bring it anywhere you want due to its compact size. It has a preset 45-second timer that helps you keep track of curing time. I would always recommend doing two 45 second rounds for each layer of nail polish as I find it’s better to let it cure a bit longer.
Pros
- The small size makes it easy to do a gel manicure wherever you want.
- The price is quite affordable for an L.E.D. gel lamp.
Cons
- It can be a little hard to track down this machine in-store; you’re better off buying it online.
- Your whole hand won’t fit inside; you’ll have to cure your thumb separately.
10. Onyx Soak Off Nail Polish Remover
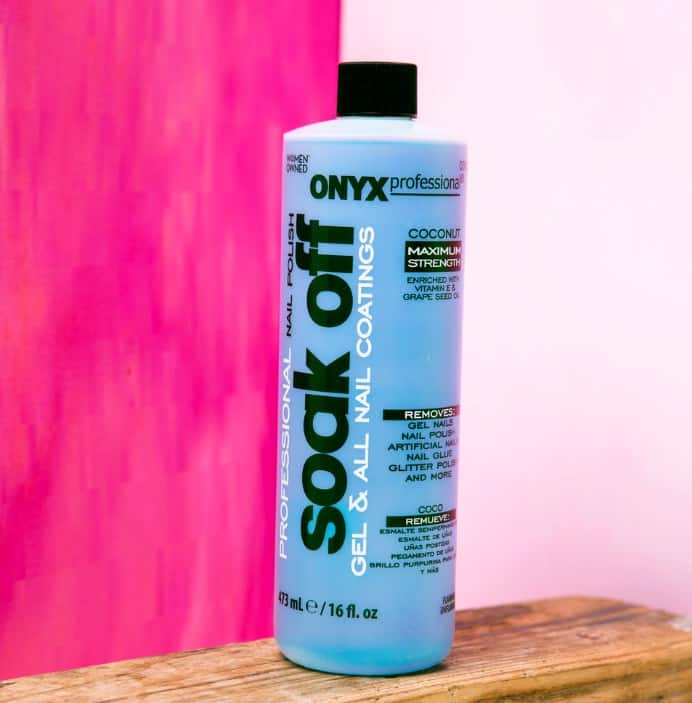
Last but not least! When you’re done with your manicure and are ready to clean off your nails for some fresh polish, I would recommend reaching for this one. I’ve tried so many nail polish removers, and none have compared to this one. It can take off any type of polish or nail product you can imagine, from shellac, dip nails, nail glue, artificial nails, and even pesky glitter polish.
It comes enriched with Vitamin E and grape seed oil, so your nails won’t become damaged and brittle after using it. It has a lovely coconut smell, too; don’t get me wrong, it doesn’t smell like perfume, but it’s not that awful chemical smell that most products have.
Pros
- It has a nice coconut smell.
- Removes virtually any pesky nail product that’s on your nails.
- It’s quite affordable and comes in a large salon size.
Cons
- It can be hard to find in stock on the shelves of your local drugstore.
- You’ll still need a nail drill if you’re removing many layers of shellac or acrylic powder.
FAQ
Answer: I’ve tried many gel polishes over the years. The key to gel polish is splurging a little; cheap gel polishes look great in most product shots, but I’ve found that the bubble and peel off quite quickly after application. My favorite gel polishes are by O.P.I. You can shop them here.
Answer: Yes! I would definitely recommend applying a base coat under your nail polish. They are specifically designed to help keep the polish on for longer, and they can prevent the staining of your nails in the long run. Trust me, the last thing you want is your nails to have a yellow tinge!
Answer: I would definitely recommend pushing back your cuticles every time you do a fresh manicure. If you don’t, you risk the polish sitting on top of the cuticle, which can lead to peeling or chipping from that area. Be careful not to be too rough on them because they can bleed and break off.
Bottomline
Having a well-stocked nail kit is essential to creating beautiful manicures. With so many products out there, it can be hard to decide on which products will suit your needs and make your next home salon session successful. I would always recommend having all of the kit items listed on hand; otherwise, you may find that your manicure turns out a little messier than you planned.
I hope that the recommendations I’ve made today will help you get a good start on building your nail kit. If you’re not sure where to start, I’d recommend picking up the SallThey’ren Cuticle Remover, the O.P.I. Top Coat, and the O.P.I. Nail Polish Clean-Up Pen. They’re sure to give you a step up on traditional at-home manicures that you may have attempted before.
If you’d like to read more about nails, check out these articles: